not just handmade, made by hand.
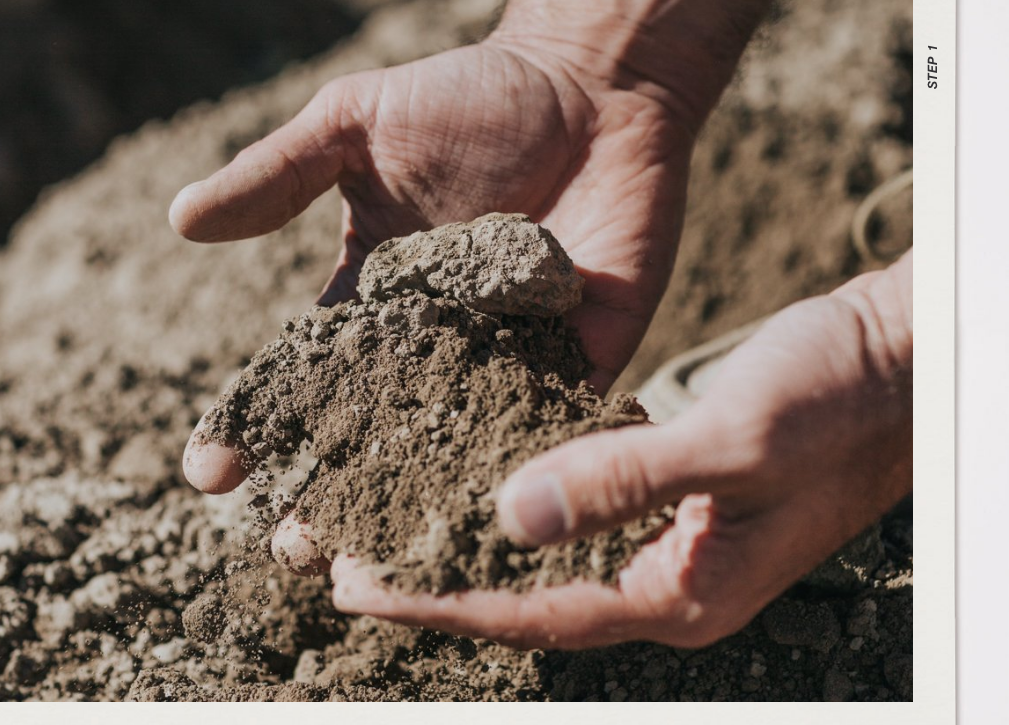
Our process starts with the mud that’s clogging our local reservoir. Once a year we excavate many truckloads of mud, creating a little more space in the reservoir for water storage. Downstream, this water is used by farms, ranches and vineyards in need of irrigation. This is especially crucial as climate change causes snow to melt sooner and makes the growing season hotter. Not just anyone can collect the mud. We collaborate with a number of stakeholders for permits and permissions, including the Bureau of Reclamation, Paonia State Park, North Fork Water Conservancy District, Fire Mountain Canal and Reservoir Company, Army Corps of Engineers and Gunnison County.
MUD COLLECTION
STEP 1
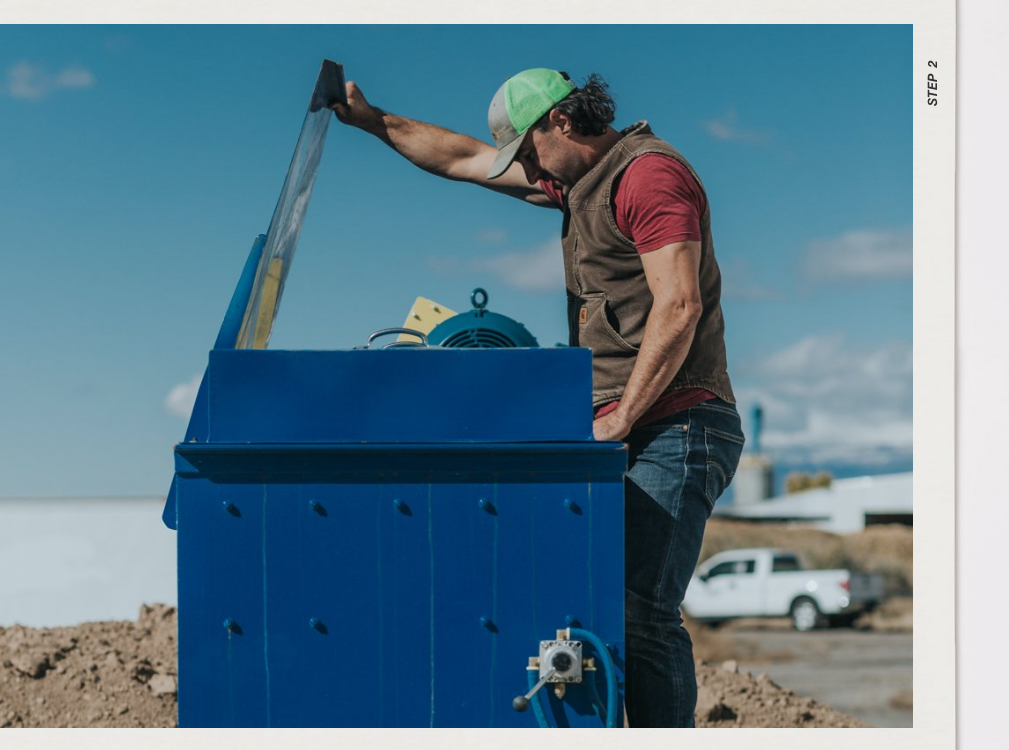
Once our mud is collected and stored, we prepare to transform it to beautiful and durable tile. The mud is a high-quality clay, and we don’t remove anything from it. We do add a sand-like material called grog, which helps control shrinkage from occurring between the wet clay stage and our final product. Grog also strengthens the tile while it cools from the kiln. We use a large mixer to combine the clay with grog and water.
CLAY PREPARATION
STEP 2
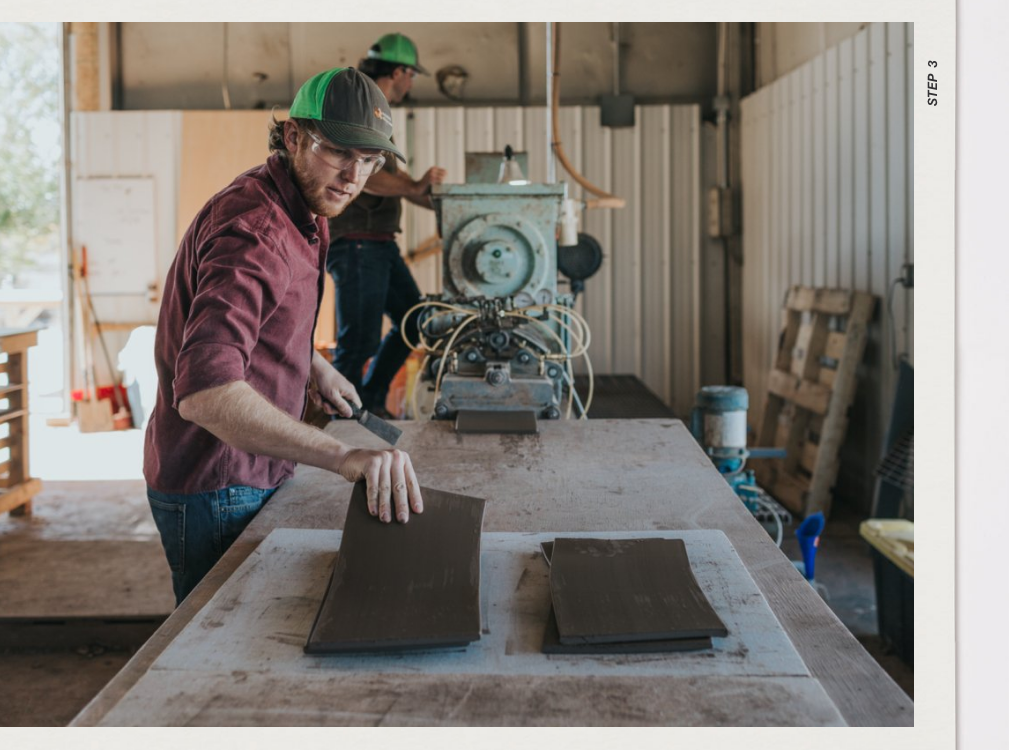
Clay is fed into a combined pug mill and extruder. The pug mill removes air from the clay, ensuring a dense and strong final product. The extruder forces the clay through a die, which is a specially shaped opening that determines the thickness of each product. Clay exits the die in a long ribbon, and these are cut by hand and stacked for final shaping.
CLAY EXTRUSION
STEP 3
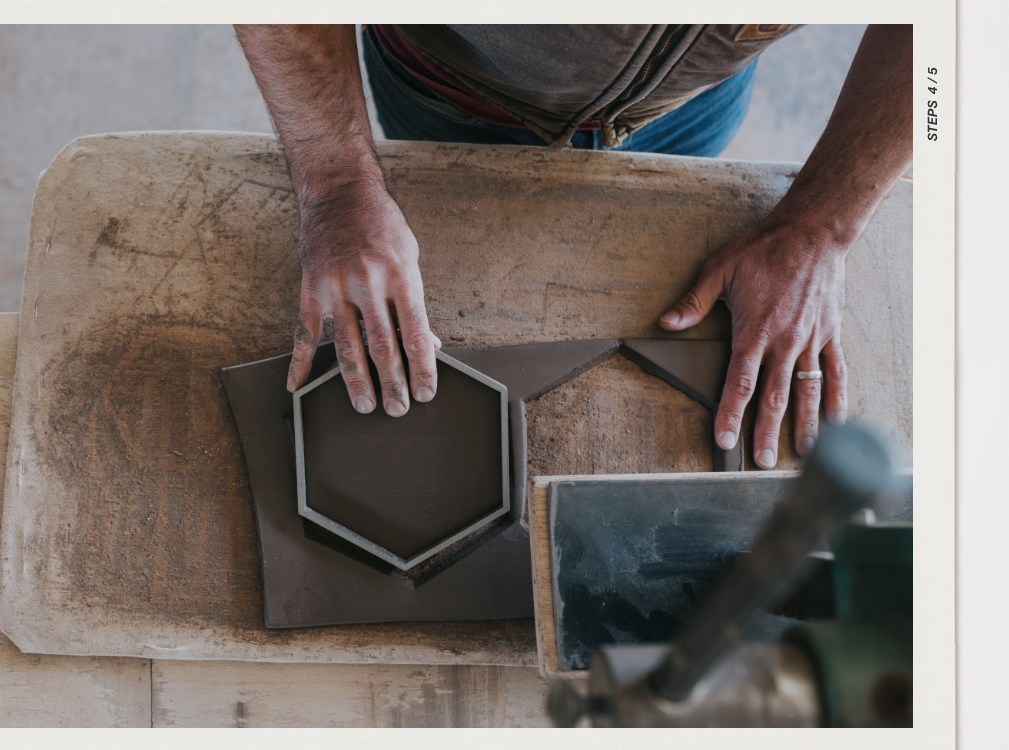
We use custom-made tile cutters to cut each tile to its final shape. Each tile is cut and trimmed by hand to ensure consistency while still retaining its artisan character. Unused and excess clay ribbon is returned to the extruder for reuse.
TILE CUTTING AND SHAPING
STEP 4 + 5
Tiles are placed on racks throughout our factory in the dry Colorado climate and dried slowly over one to two weeks. Gradual air drying prevents warping and cracking of the clay.
TILE DRYING
STEP 6
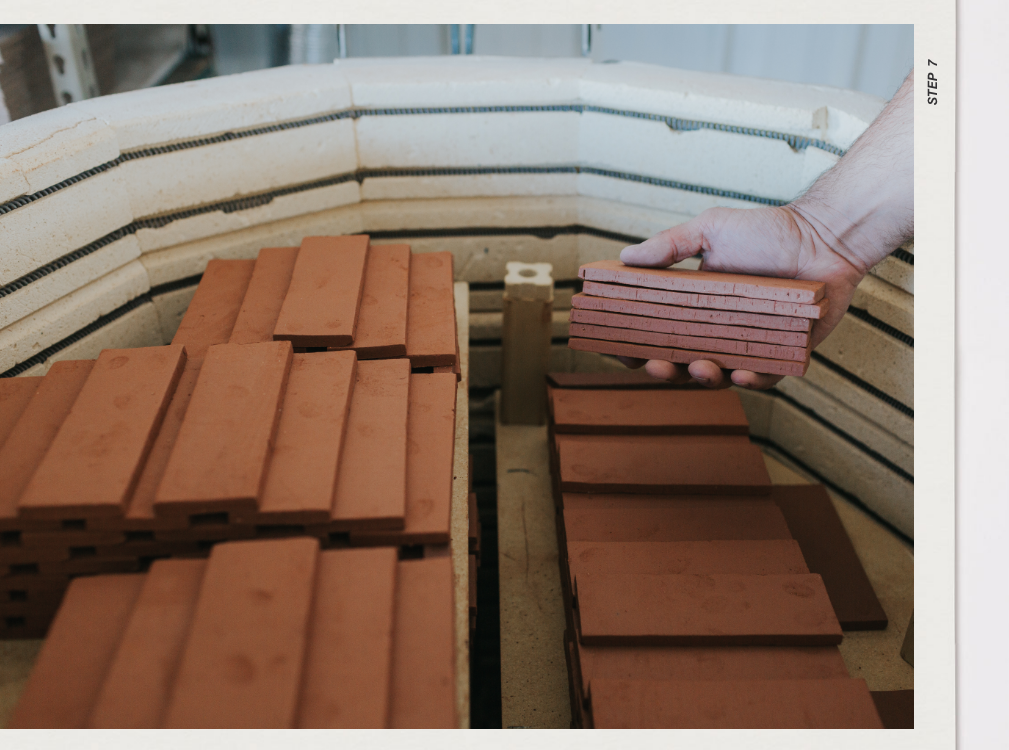
To transform our products from dry clay to durable ceramic tile, we heat the clay to nearly 2,000 degrees Fahrenheit. The tiles spend more than a dozen hours in the kiln to reach this temperature and over 24 hours to fully cool. During this time, the individual grains of clay melt slightly and fuse together. Iron in the clay oxidizes to create the beautiful red color that defines a classic terracotta. The fusion of the clay particles imparts the strength and water resistance necessary to create durable products for use in residential and commercial projects.
KILN FIRING
STEP 7
GLAZING
STEP 8
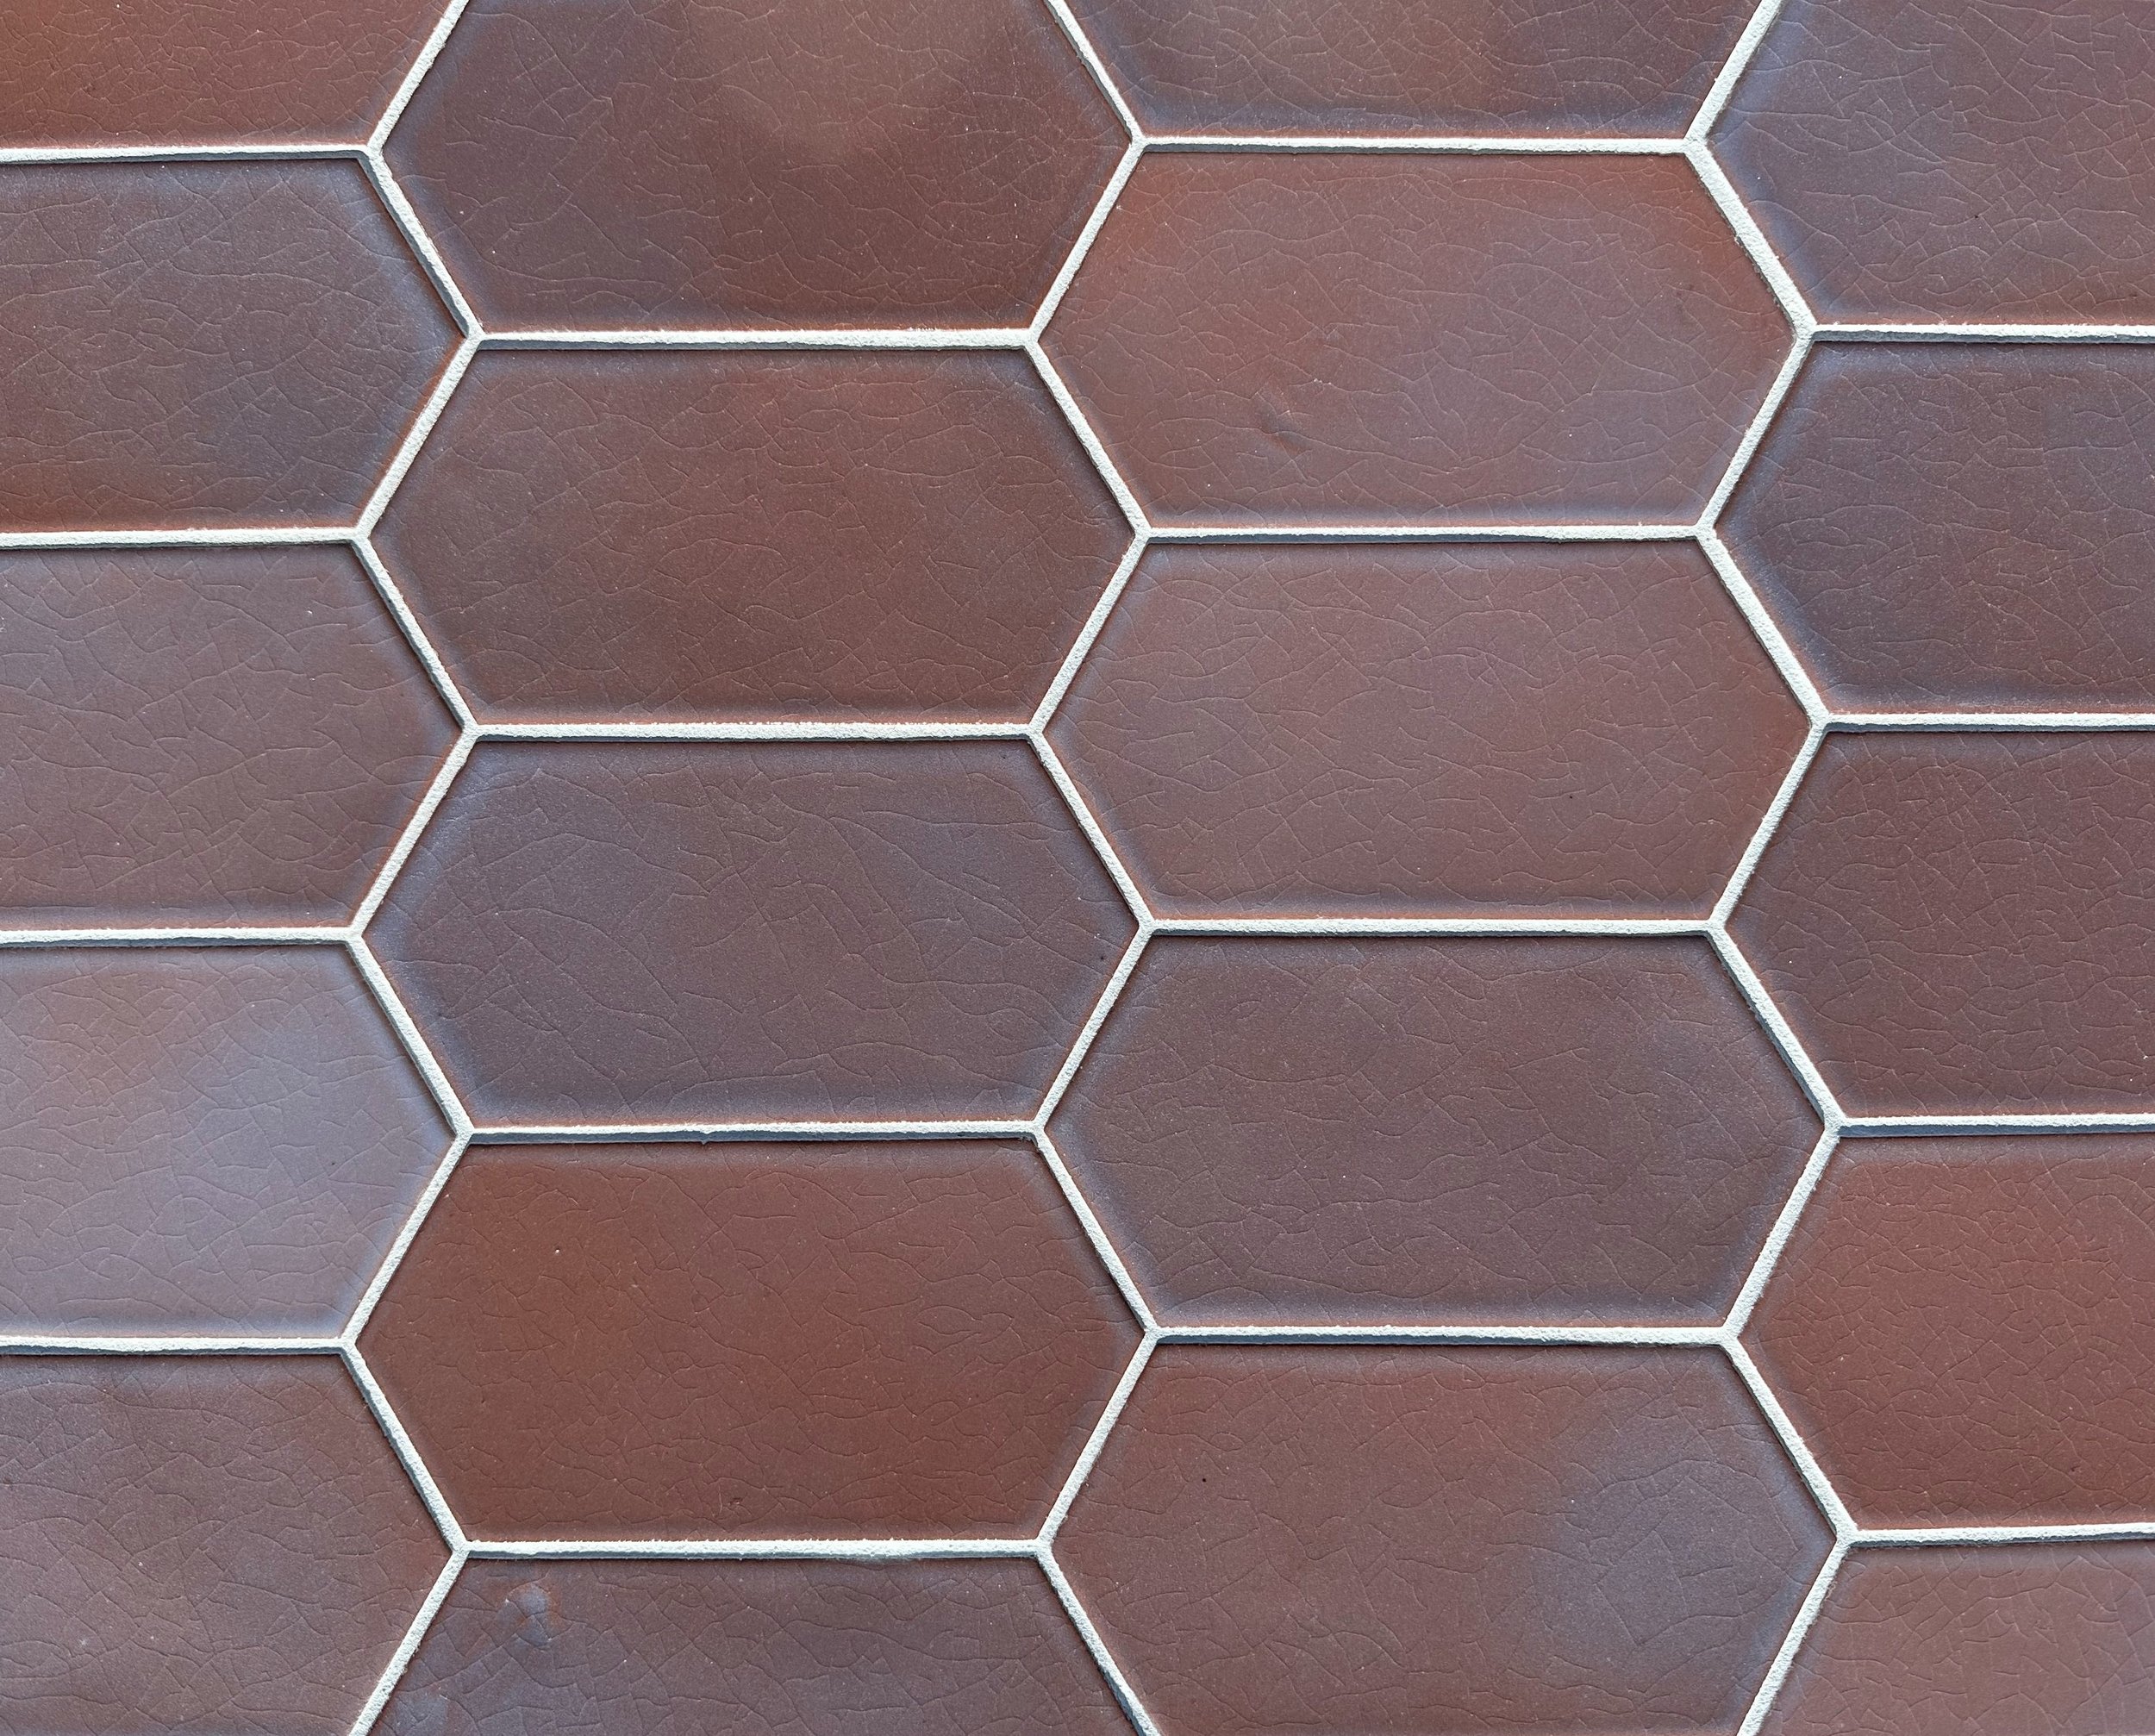
When tile is removed from the kiln, it is inspected and then prepared for glazing. We spray most glazes and hand paint some custom pieces. Glazes can be customized in numerous ways including color, thickness of application, edge glazing, and level of variability.
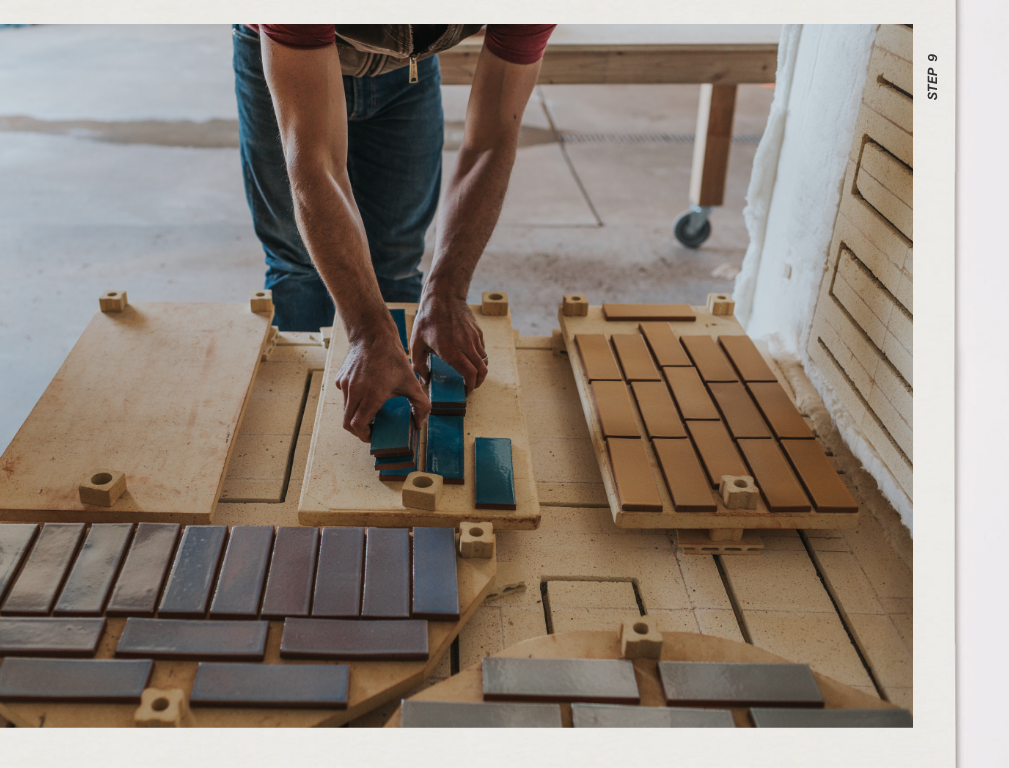
Tiles are then fired again to 1,900 degrees Fahrenheit, allowing the glaze to melt and become glass that is fused to the clay tile. Once the glaze kiln is unloaded, we check each tile individually for quality and consistency.
KILN FIRING
STEP 9
